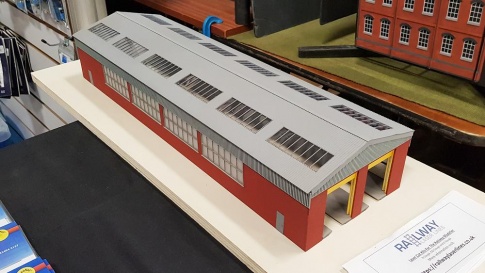
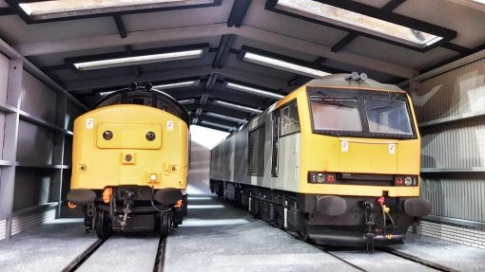
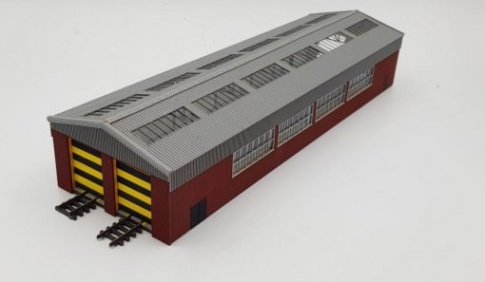
Railway Laser Lines Laser Cut OO Gauge Gresty Servicing & Refuelling Shed Kit with roof windows.
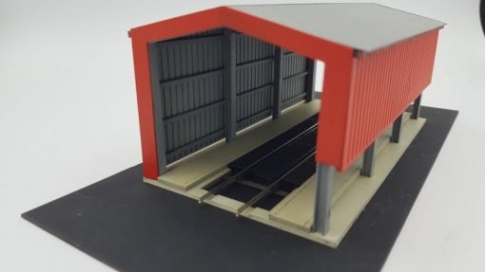
Gresty Bridge servicing and refuelling depot kit is based on the real shed at Gresty Bridge Depot, Gresty Lane, Crewe which is owned by DRS (Direct Rail Services)
Its unique framework makes it an ideal kit for the modern image modeller as there is NOTHING on the market like this, so Railway Laser Lines decided to make up a laser cut kit for this shed. Officially launched in the 7mm O gauge market last month, weve adapted that design and modified it due to the reduction in size and now has easier to fit main side frames and roof structures. The kit is made from MDF and some parts, especially the 8 roof frame supports are EXTREMELY fragile, so it is vitally important that these are handled with care to avoid breakage
.please take your time!
The base is made up off a base and overlay and this allows the base to get right up to the edhe of the rails and if using code 75 track, there is the smallest of difference between the rail height and the base. I dont think that Ive seen any other kit getting that kind of accuracy! The centre strip allows for the flange gap of the locomotives, but as always, if you are running older stock, check the clearance prior to glueing. This can be sanded if required.
The base even has its own fuel spillage frame integrated into the base and the level of detail here is second to none and once the base is primed, painted and weathered, this should look fantastic.
There are NO fuelling parts with our kit. These can be obtained from the likes of Knightwing and other manufacturers who make a fuelling rig.
Instruction Kit Document
This kit currently only comes with written instructions. We have added the instructions on this product page (we no longer include instructions within our kits, to save paper) so you can read them direct from your computer/ipad/mobile but if preferred, you can still upload and print them out. At this moment in time, there is no video instructions for this kit.
Click here to read the instructions on how to build this kit. (NB: This instruction kit listed on here will see updates, so please check this one for the most up-to-date version. Current version Updated: 25th September 2019


.jpg)
.jpg)
.jpg)
.jpg)
.jpg)

.jpg)
.jpg)
.jpg)
.jpg)
.jpg)

.jpg)
.jpg)
.jpg)
.jpg)

.jpg)
.jpg)
.jpg)
.jpg)
.jpg)