Laser Cut OO Gauge Immingham Fuelling Shed – FOR PECO CODE 75 NEW BULLHEAD TRACK ONLY!
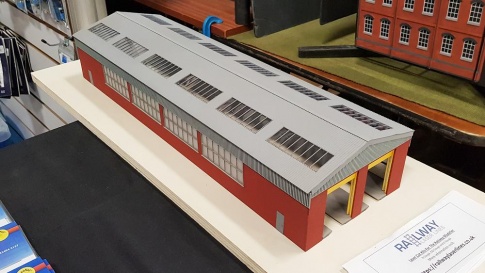
Immingham has played a major part in the maintenance of locomotives for many years and you could find in excess of 50 locomotives parked up at weekends back in the 80s/90s. Unfortunately, like many depots across the country, these were all closed and a similar fate lay ahead with Immingham. Today, the area is a former shadow of itself and it wasn’t until 2018 that DB Schenker installed a new fuelling facility further down from where the depot was for locomotives that required fuelling before their next working. A 40ft single road refuelling shed was erected and the exterior was DB Schenker red, which certainly suited the shed as it complimented the livery of most DB locos.
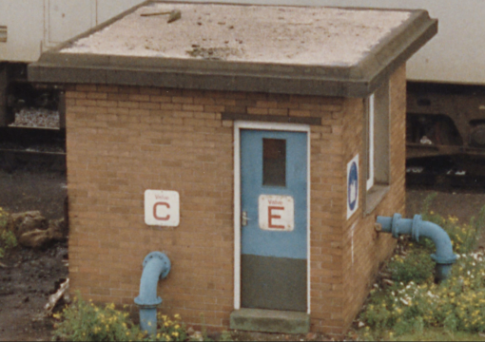
Having a number of images for this shed and the use of tools from Google, we decided that this would make an ideal laser cut kit and this is a result of our work. It represents the actual shed well and allows you to use as is or to even use for a number of other purposes with a little adaption. The refuelling shed does have all the fuelling set up in a unit next to the shed but unfortunately we have been unable to source any images of this.
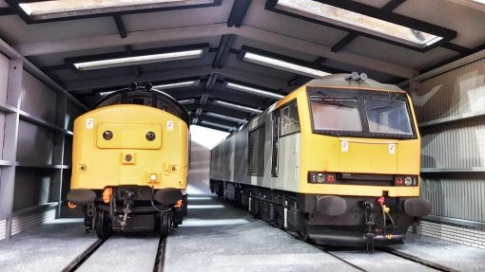
Our kit includes the fuelling grids, which are present on the actual shed and they are slightly less in length to our standard length fuelling grids as from images gained, the grids do not run the full length of the shed.
As this shed was recently erected, we decided that those modelling the latest era would more than likely go for the new Peco code 75 bullhead track and therefore designed the base and grids with this in mind. We have no plans to bring this kit out for any other track as it is feasible to purchase a length of the new bullhead track and join it up with the standard code 75 if required.
The kit comes in many parts and is easy enough to build and there is a video that we have done that shows how we made this kit.
- For Peco Code 75 Bullhead track ONLY (Not Included)
- Includes our popular Fuelling Grids – mini version
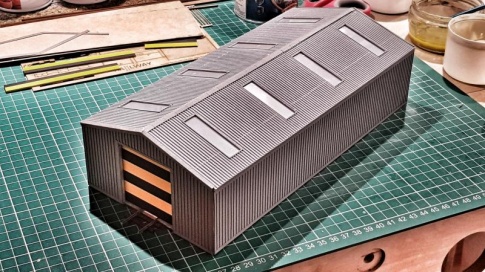
- Corrugated Roof
- Side Cladding for internal and External viewing – more realism
- ModelBord with MDF to make H beam supports
Instruction Kit Document
This kit comes with a parts list. There are no written instructions for this kit. However, we have done a ‘How To….’ Video on making this kit. This video should be below.
Dimensions (Approx): L 160 mm x D 90 mm x H 75 mm
Materials Used; MDF, ModelBord, Card
Assembly Required: Yes
Additional Parts Required (Not Included With Kit): Comes as a kit but some parts of the kit will require priming, painting and/or glueing. A sharp craft knife/zippy blade or similar will be required to remove pieces from part of the kit.
Other items required to assist: PVA Glue (or equivalent) Sandpaper, Primer Paint, Acrylic/Enamel Paint, Masking Tape, Paint Brushes
Advise: When priming/painting, do so in a well-ventilated area and use an appropriate mask. Some items are very fragile so handling with care is paramount.


.jpg)
.jpg)
.jpg)
.jpg)
.jpg)

.jpg)
.jpg)
.jpg)
.jpg)

.jpg)
.jpg)
.jpg)
.jpg)
.jpg)

.png)