Sprog programming in iTrain
Programming Loco decoders in iTrain using Sprog IIv4.
If you are looking to use the Sprog to programme locos in iTrain, the following needs to be done.
To be able to have this function you need to have iTrain Plus or above. By having this the ability to program locos is in the software. So who do we achieve this? So you have to have the loco in the data base in iTrain. So if the loco is not in iTrain please create this in Edit> locomotive editor.
Pic 1.
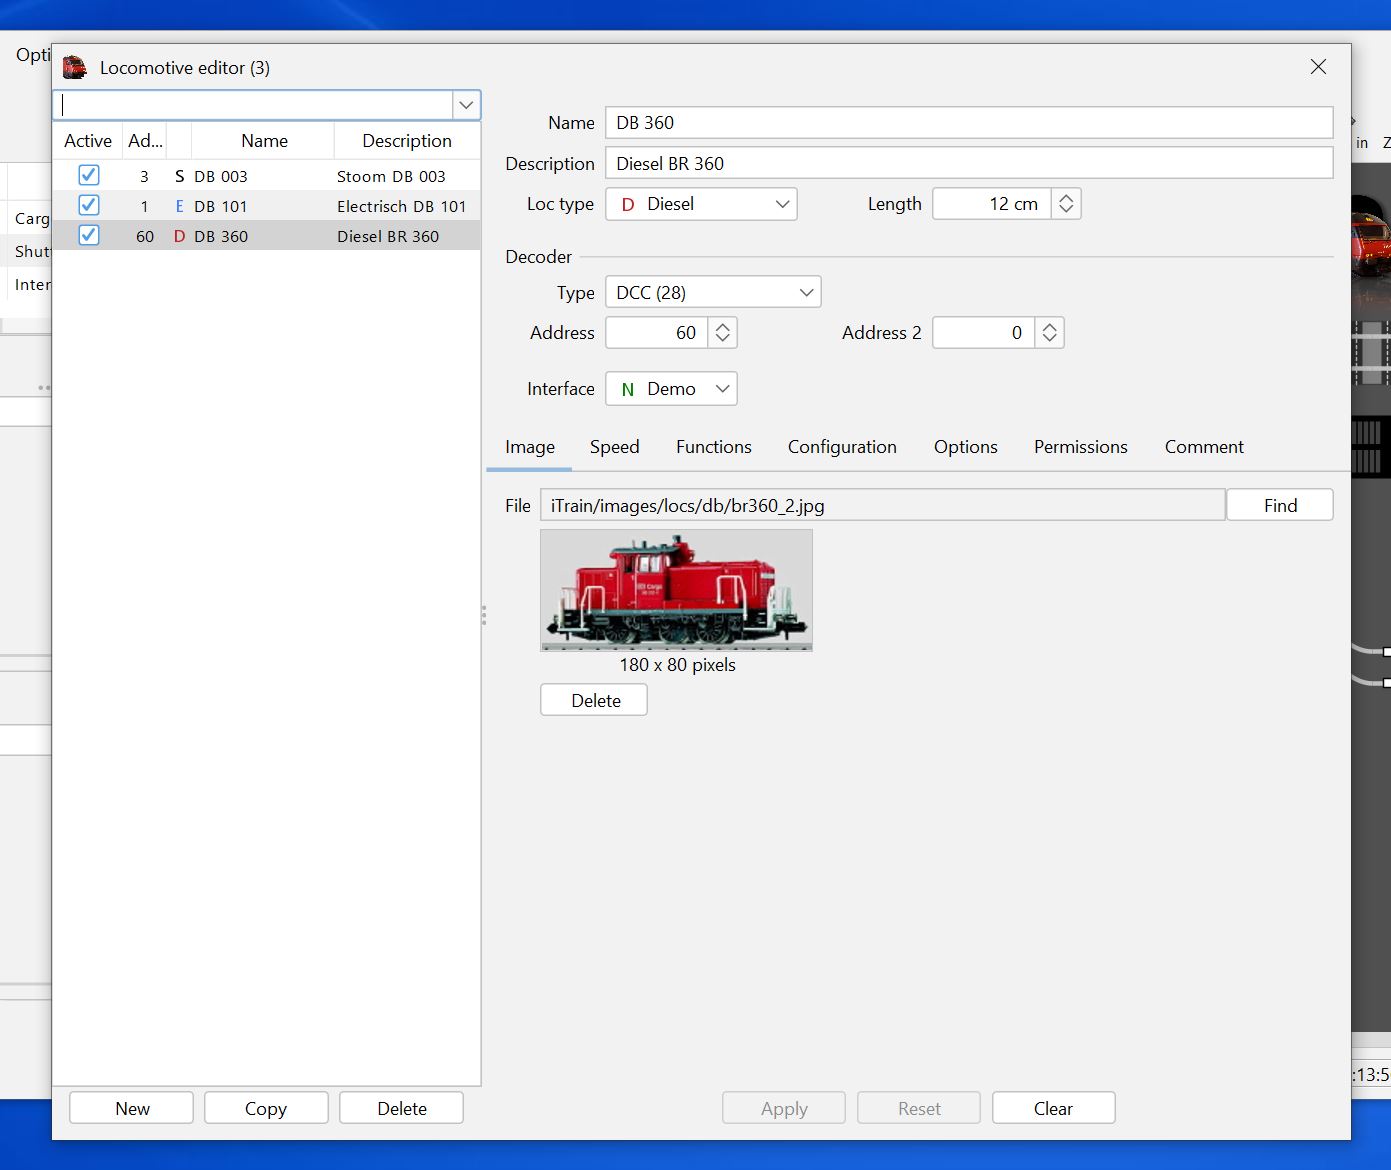
Lets create a NEW locomotive. Please click on New and then add in all the information Name, Description, Loco type and Length to name some of the basic information needed. Don't forget the length. Also if the Decoder has not been programmed before the address of the decoder will be 3. If you add this in it will them be ready for you to program with the Sprog.
Under the Tab heading Configuration you now need to RIGHT CLICK in the middle of this page. You will see the following popup appear.
Pic 2.
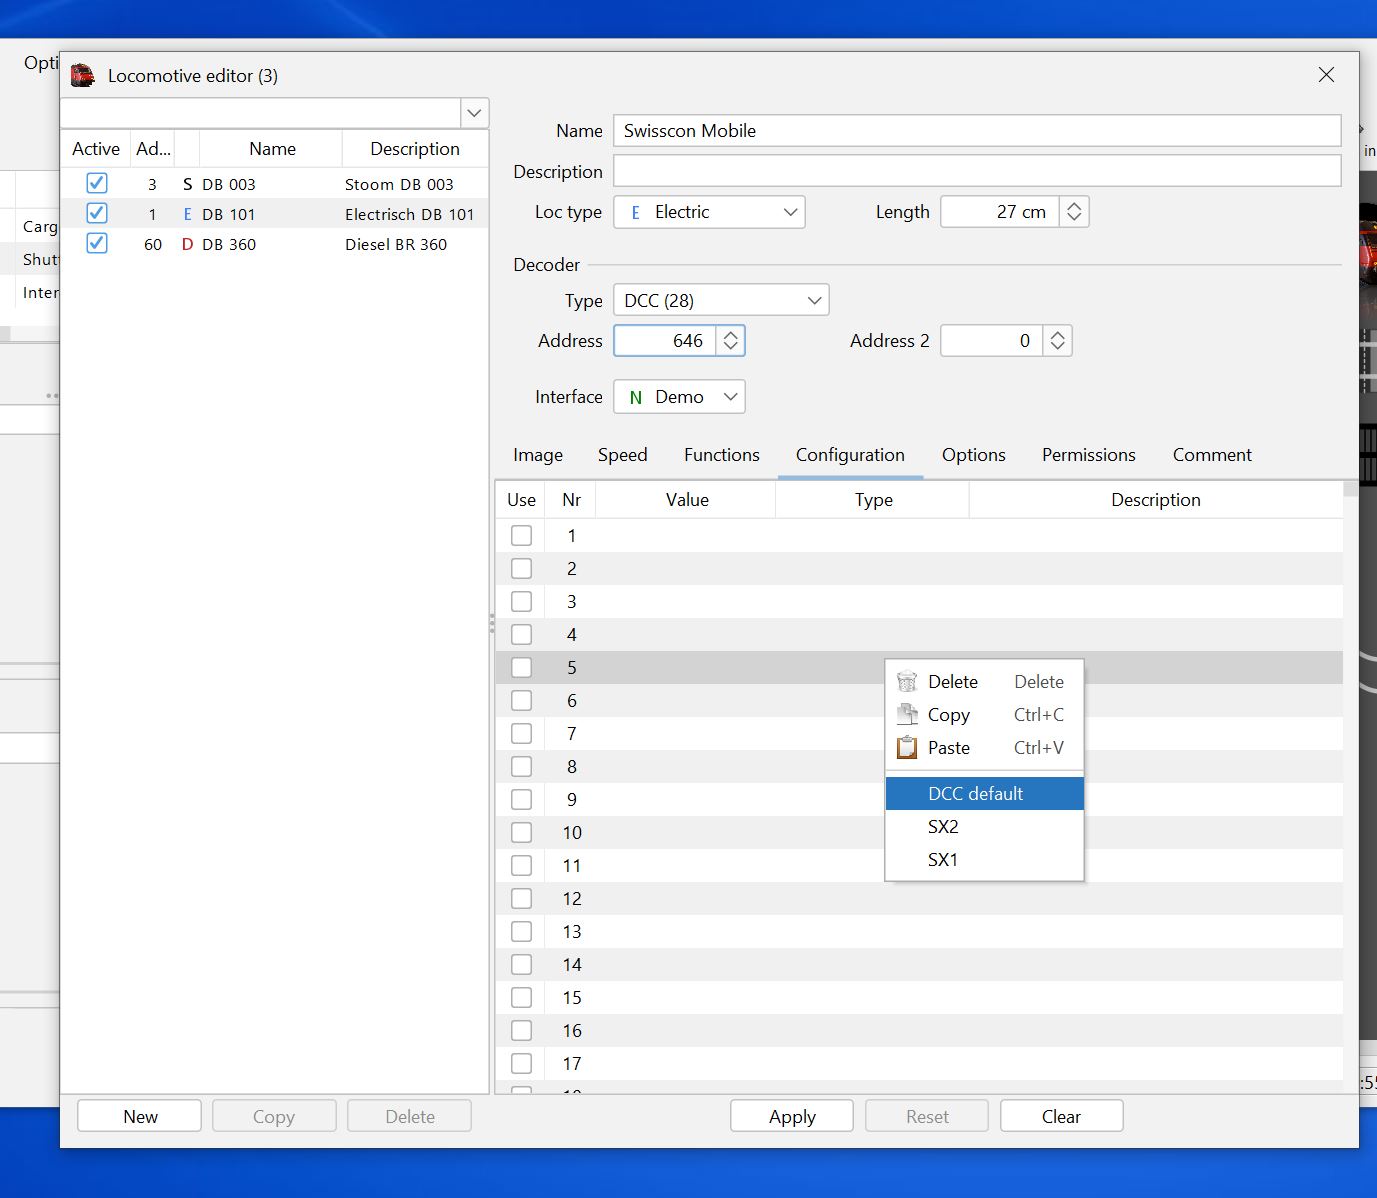
Please select DCC Default. Then you will see a number of CV numbers on the left hand side appear and are not selected. These are the main CVs you will want to change if you want more than the default ones to be used please just tick the extra number for the ones you wish to read and write.
Pic 3.
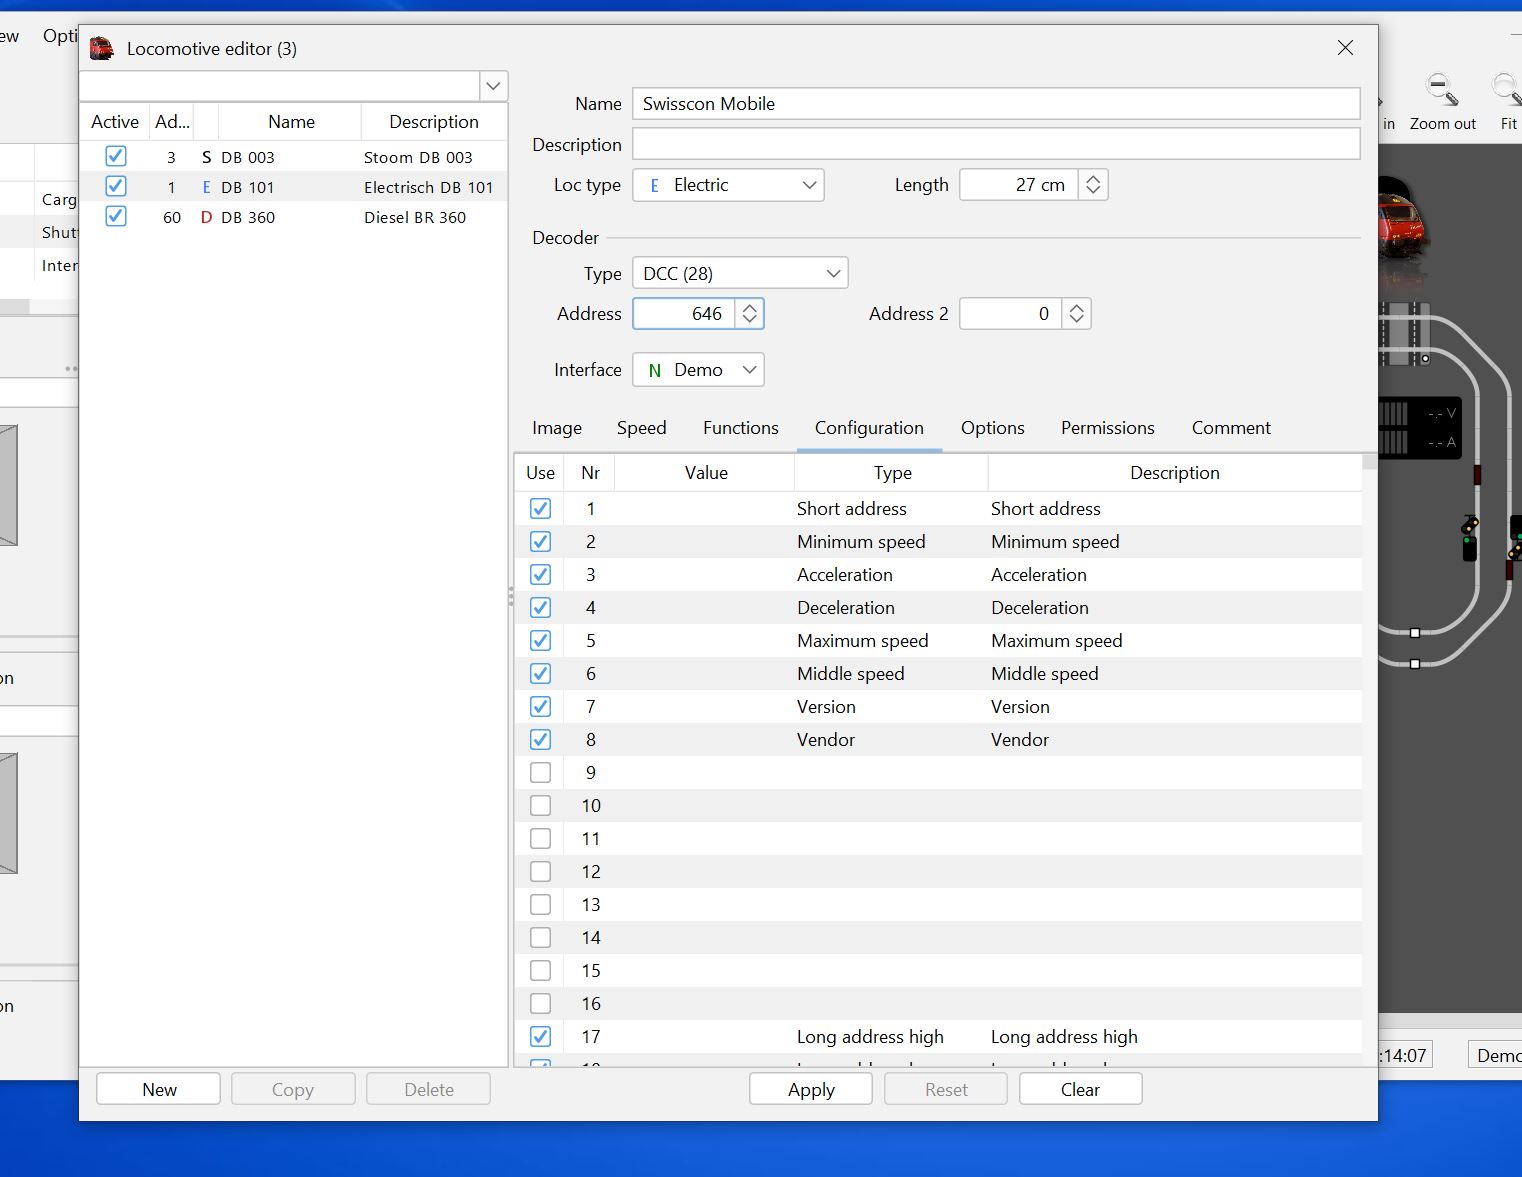
Now you have achieved this. You now are able to read and write the CVs of this locomotive.
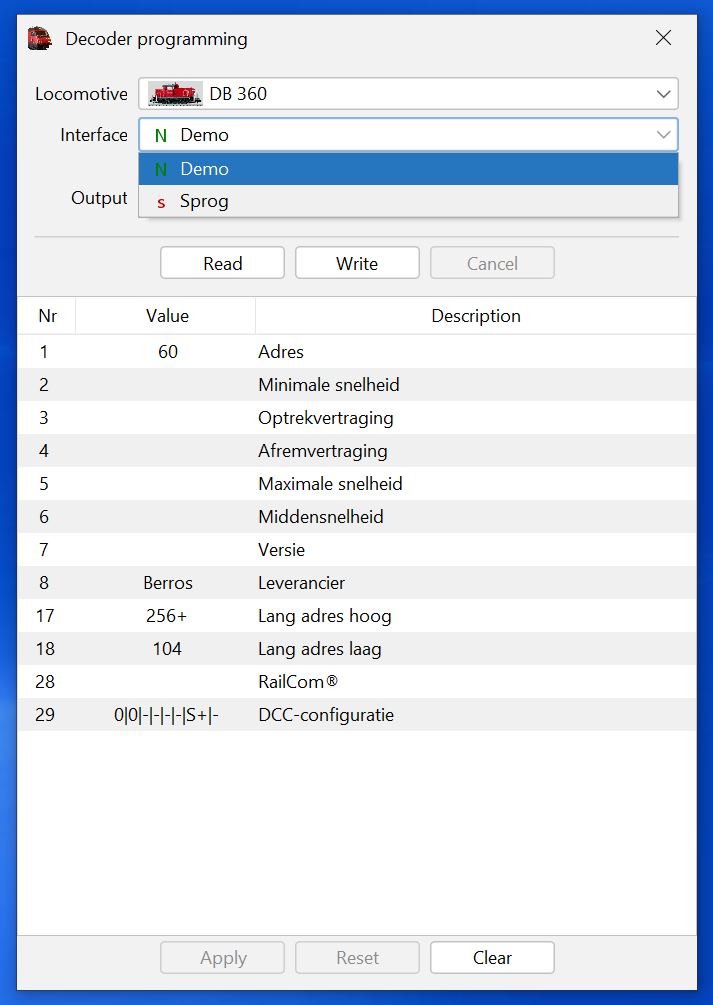
Please now go to View > Decoder Programming >Locomotive
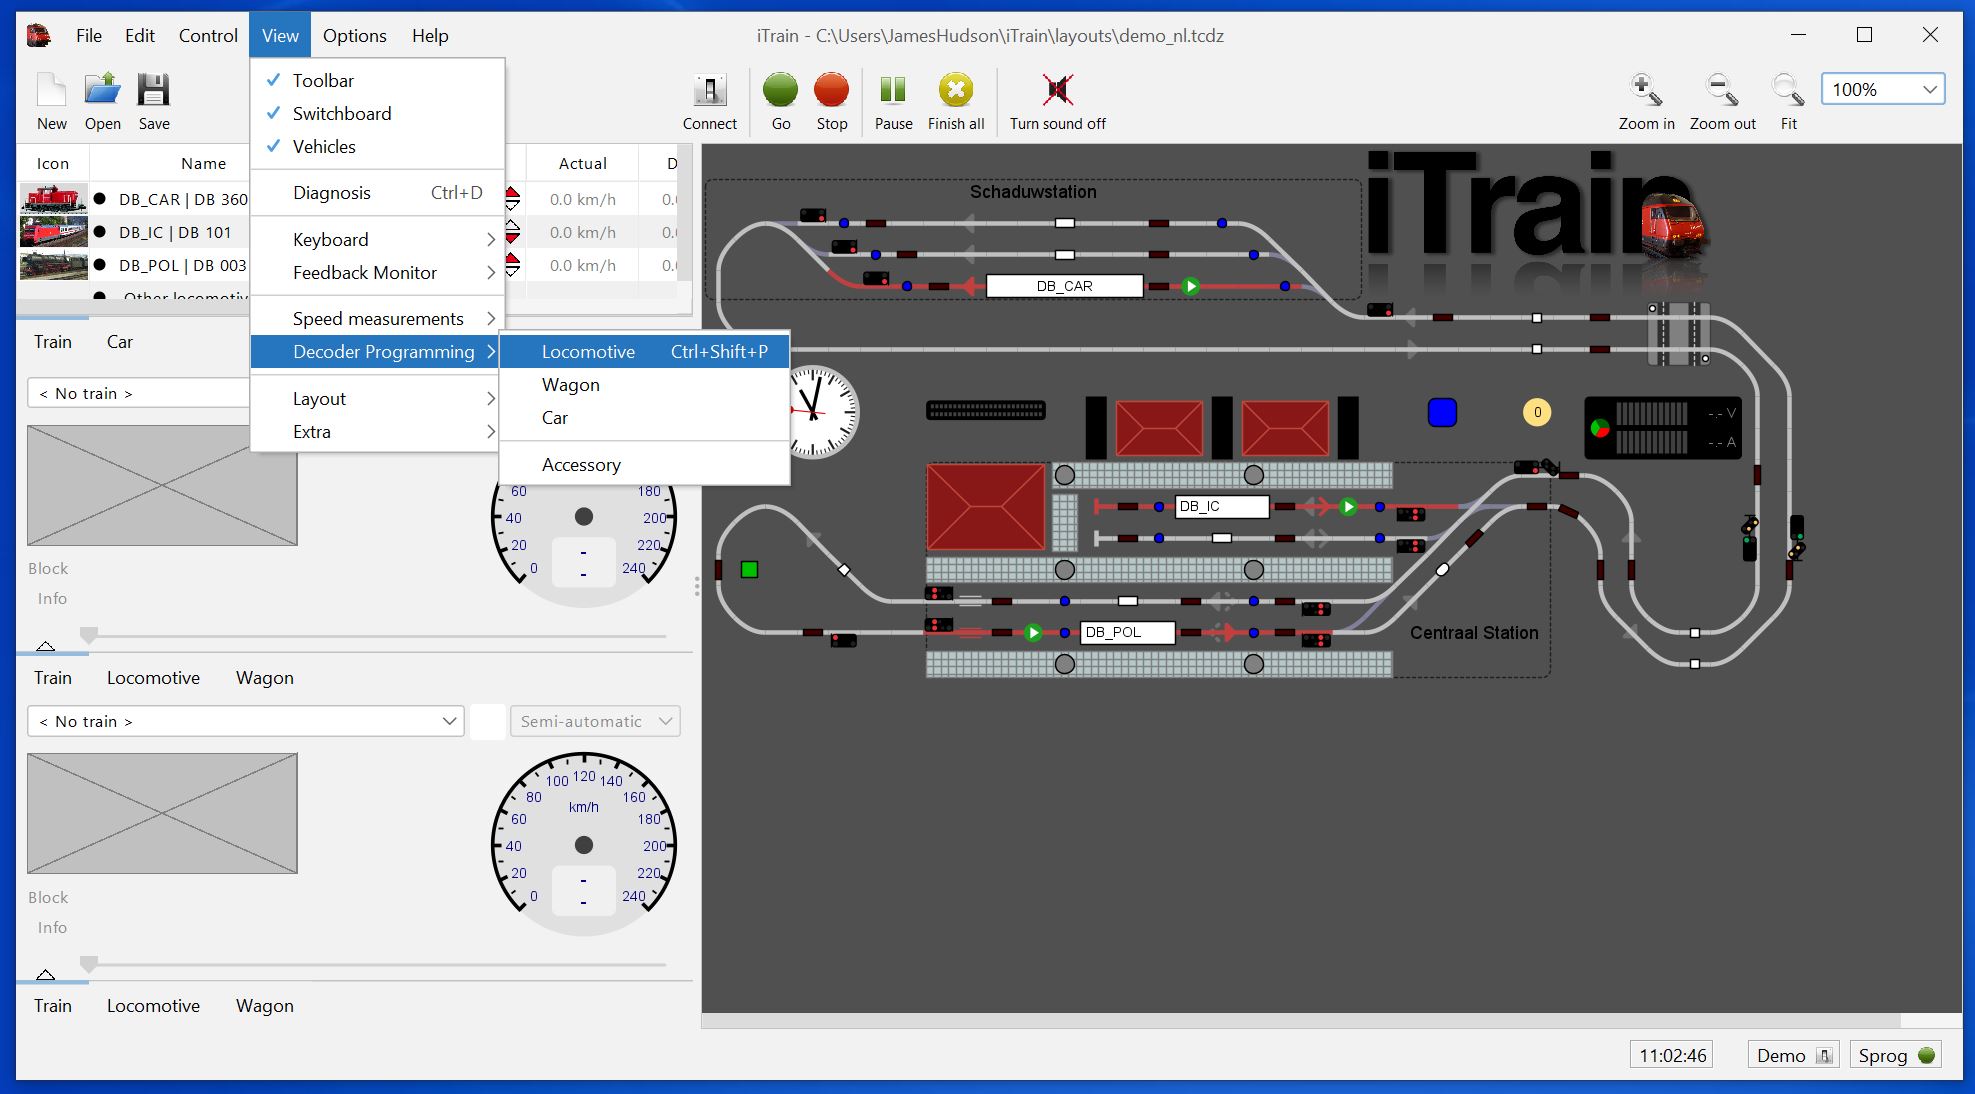
Once you have done this you can then see the following window. In this window you can select the Locomotive you want to program from the drop down list. So please select the one you wish to program.
In the interface list please find the Sprog Interface you have created. By doing this you will then be able to use the Sprog to read and wright.
Pic 4.
So we will now select the Loco Swisscom Mobile in our list. If you select your loco here you want to program.
Also making sure the interface is the Sprog in the drop down list.
Pic 5.
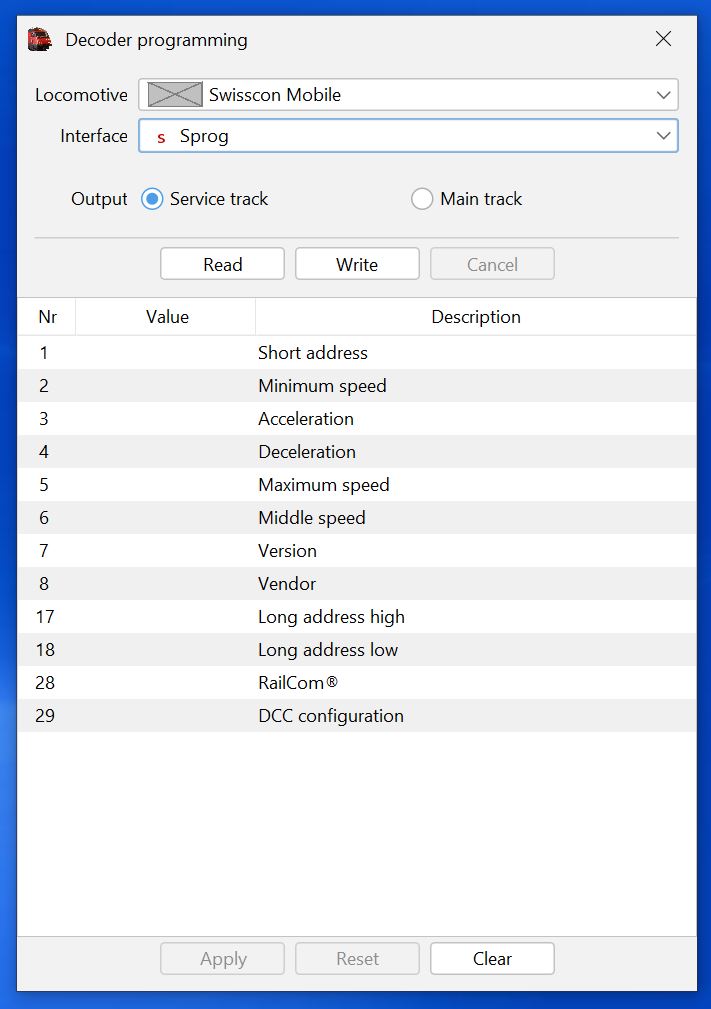
You now see a blank table showing just the CVs and the Description of that CV. If you have already programmed a decoder in iTrain this will also have a value in that column.
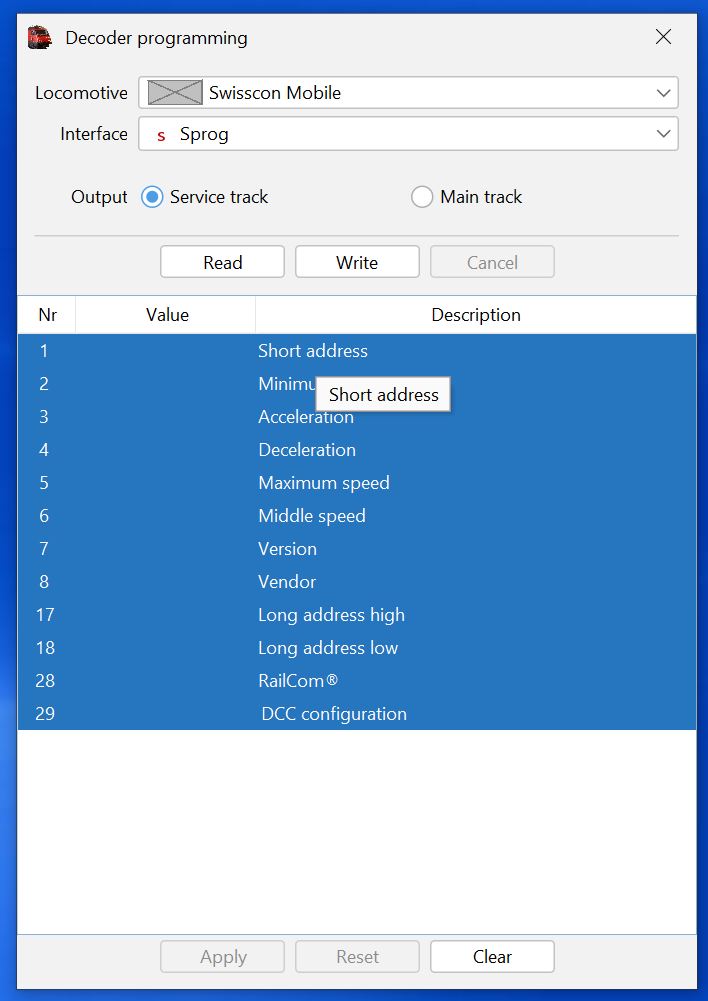
Now we have to select all the lines buy clicking on then holding your mouse button down and then dragging down to select them all.
Pic 6.
Once selected you can now press Read and the Vales of the decoder will fill this column. Make sure that the Service Track is selected above the read button.
Pic 7.
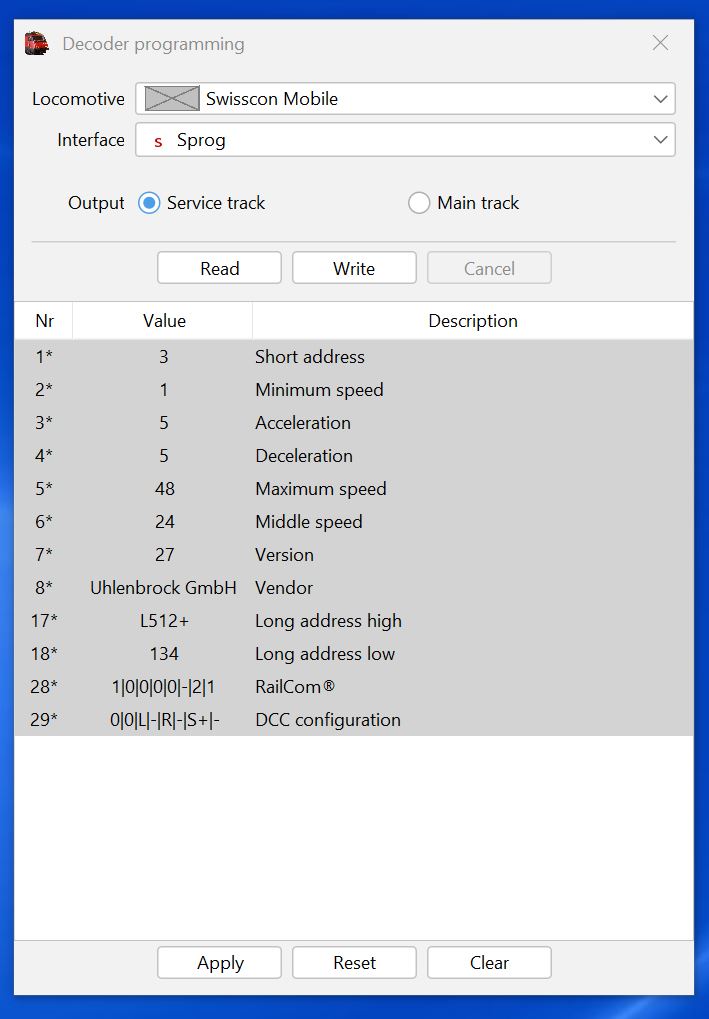
As you can now see the values are all in there from the loco you just read. If you wish to change the address or an other CV double click on the Value you want to change the type in the new value you want. Then while this line is highlighted press Write and the value will change to the new value you have written.
If you want to change the Short address then CV1 you can adjust up to the Value of 124. If you want an address longer than this you will need to use CV17 and 18 and also adjust CV29. The link below will help you with this.
Click here for the Calculator. This will help you set up the long address of the loco.
Don't forget - if you change the address you then have to change the loco address in the locomotive editor for that loco.
If you don't, you'll not be able to read or write to this decoder now as you've changed the value.