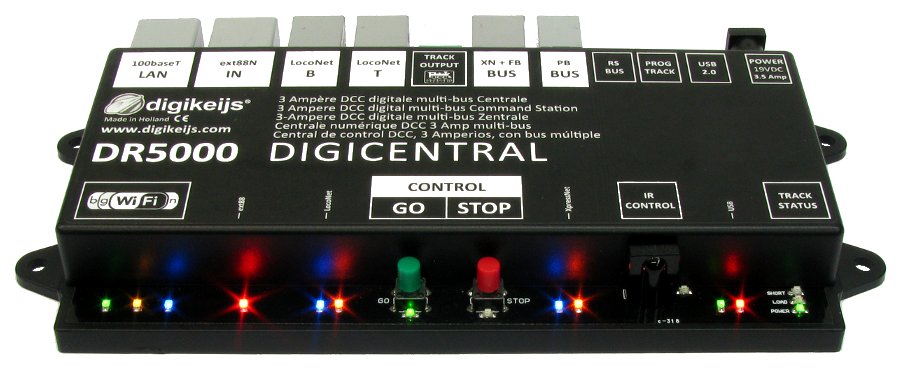
Connecting JMRI to DR5000 via USB and Wifi
13 April 2022
Setup Digikeijs DR5000 using JMRI over USB and Wifi
USB Connection
1. Create USB connection from your PC or MAC
2. Open DR5000 Application from PC or MAC
3. Interface will open
4. Click on USB 2.0 on the DR5000 interface
5. Make note of Loconet Com port, in the example shown COM4

6. Open JMRI Panel Pro or Decoder Pro
7. Select edit/preferences/connections
8. Select system manufacturer from dropdown, in this case Digitrax
9. Select connection type from system connection dropdown box, in this case select LocoNet Locobuffer-USB
10. You should now have USB connection setup from PC or MAC to DR5000
11. Testing this works from JMRI Panel Pro is advisable
12. Open Panel Pro/Tool/ Power Control

13. Test operation of power controls On/Off via the interface
End
WiFi Connection
1. Keep USB connection active from PC or MAC to DR5000
2. Make sure Wifi Connection is made from PC to DR5000

3. You will notice that there is no Internet connection, this is normal
4. From the DR5000 interface select 100baseT LAN
5. Select LocoNet Over TCP/IP from the DR5000 dropdown box, as shown below
6. Select Save, The Green tick box, which unfortunately is greyed out in the example below.

7. Close Lan Properties
8. Open Panel Pro or Decoder Pro
9. Select Edit/Properties/Connections
10. From the System Connection dropdown box select LocoNet over TCP
11. Enter the IP address of the DR5000, in this case 192.168.16.254
12. On the port settings enter 5550 as the port number
13. Select Save, the unit will now restart with the new settings.

14. Close down Panel Pro or Decoder Pro whichever you are using.
15. Reopen Panel Pro or Decoder Pro
16. Select Edit/Tool/Power Control
17. Test in the same way as tested when connected via USB

18. Now disconnect the USB from DR5000 to PC
19. The DR5000 should now switch to Demo Mode.

20. The DR5000 will show as being in demo mode, this is normal
21. You should now be able to connect via Wifi with no USB cable connected.
End
